Blisters are no fun.
Whether you’re on a week-long backpacking trip in Joshua Tree National Park or a day hike in Zion, getting blisters while hiking is something most of us would rather avoid.
Thankfully, there are plenty of ways to stop blisters from putting a damper on your hiking adventures. The key is knowing which methods work best for you.
To get you started, we’ve put together this list of the top 10 tips for preventing blisters while hiking. In this article, we’ll walk you through the basics of blister prevention so you can enjoy your adventures, every step of the way.
1. Get hiking boots that fit
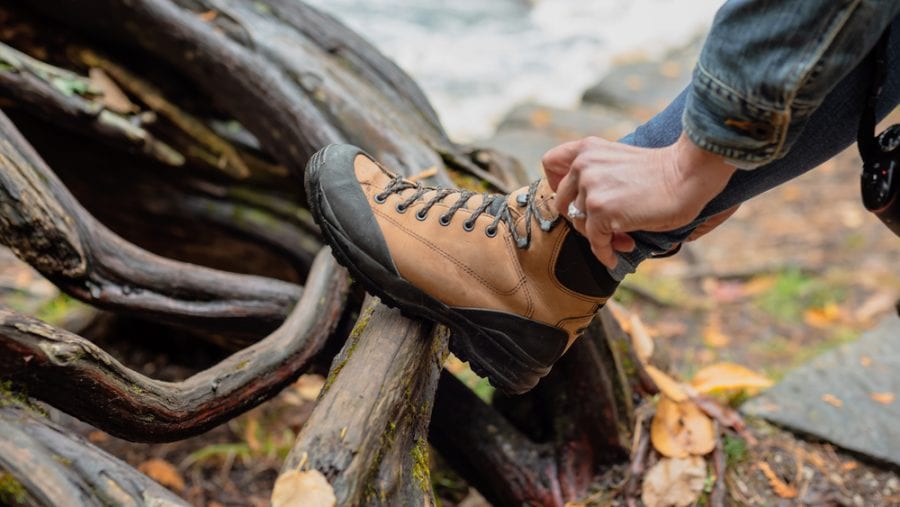
The primary cause of blisters is excessive friction and pressure.
So, eliminating unnecessary rubbing on your feet while you walk is of the utmost importance.
To do so, you’ll need hiking boots that actually fit. While it might seem tempting to buy a pair of boots because they’re on sale, if they don’t fit you perfectly, you can expect blister-related trouble down the line.
Of course, even a well-fitting pair of boots can lead to blisters on a very long hike. But, we can assure you that getting a pair of hiking shoes that don’t fit well won’t make things any better for you on day 10 of your Grand Canyon hiking trip.
Read More : Hiking Shoes vs Boots – How to Choose?
2. Always break in your boots
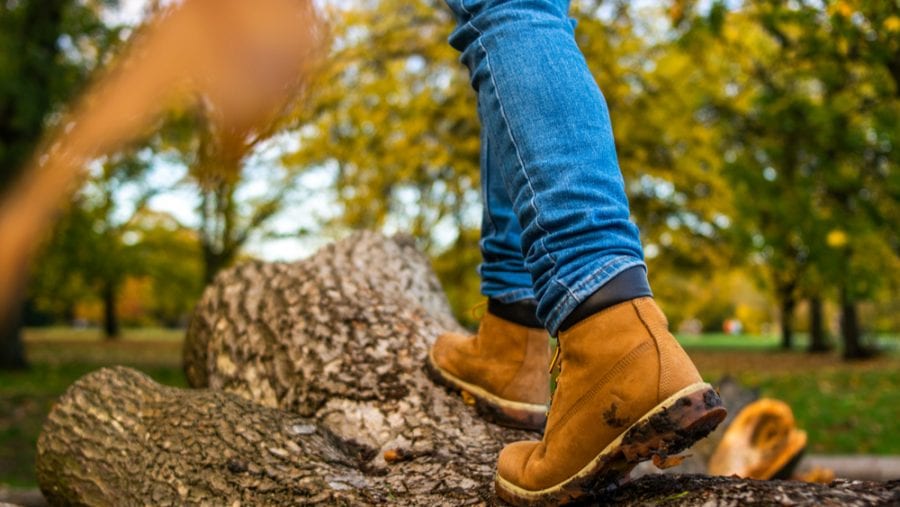
Once you get yourself a pair of boots that fit, it’s time to break them in.
The break-in process and the total amount of time it will take to break in your boots varies greatly from model to model. But, you can generally expect high-top leather hiking boots to take up to a few weeks to break in while low-top hiking shoes might take just a few days.
Our advice?
Wear your new boots or shoes on a regular basis for about two weeks before your first big hike. Use them whenever you go on a walk or run an errand.
Then, take them on a couple of day hikes to break them in before their first major adventure. Your feet will thank you later.
3. Carry spare dry socks
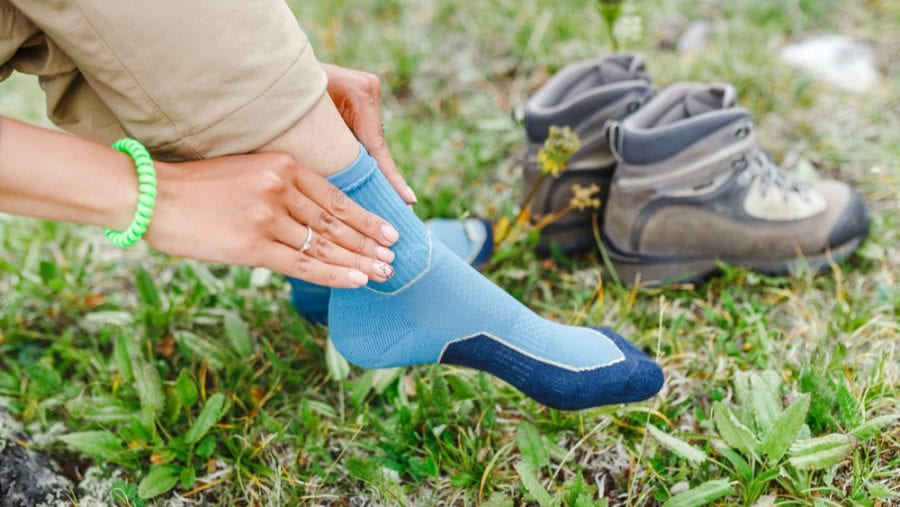
While pressure and friction are the major causes of blister formation, moisture also plays a major role in blister development as you hike.
In fact, moisture from sweat and river crossings makes our skin softer as we hike. Then, as our boots rub against our feet, this soft skin becomes much more susceptible to blister formation.
So, keeping your feet as dry as possible is ideal if you want to win your fight against blisters. Having a spare set of socks on hand for when your feet are wet can make a big difference.
That being said, in a rainy environment or on a hike with a lot of river crossings, swapping out your wet socks every few minutes isn’t practical. Therefore, at the very least, you should always have spare socks in your hiking backpack so you can have clean, dry feet in camp each night.
4. Learn to tie your boots
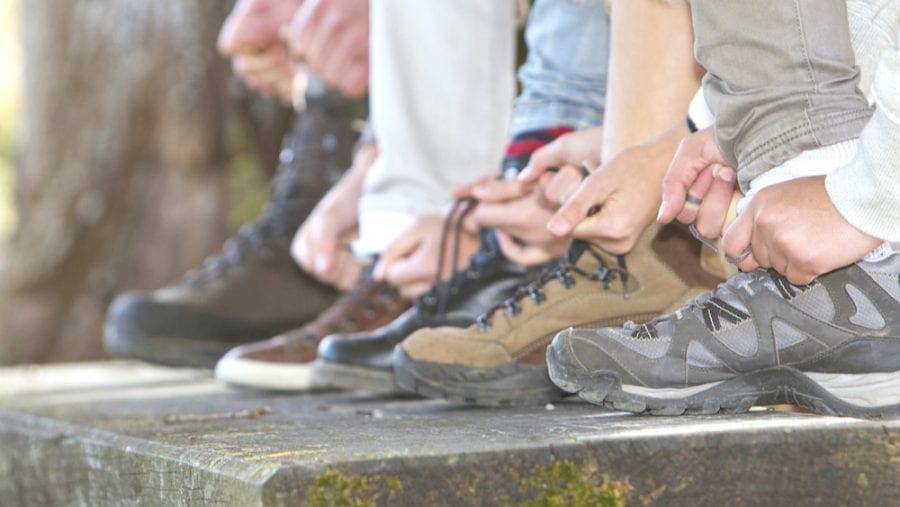
Okay, we know what you’re thinking, Learn how to tie my boots? I figured that out in kindergarten!
While we know that you’re probably a whiz at tying your shoes, it’s worth considering different ways to lace up your boots on the trail. In fact, if you’ve noticed that your feet still tend to slip and slide as you hike, then your current lacing system might be to blame.
The good news is that there are many ways to tie shoes, each of which helps to secure your foot in a different way as you hike. So consider trying out a few different methods to see which one works best for you.
5. Do a foot check every day
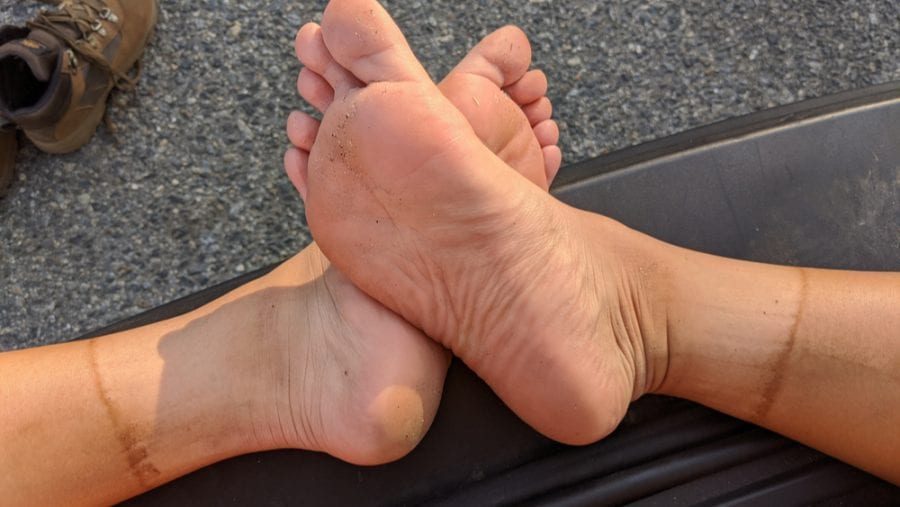
This might sound a little odd, but you should make it a habit to check your feet every day that you’re on the trail. Taking a moment to remove your boots and hiking socks during a rest break on the trail can go a long way toward identifying problem areas for potential blisters.
When you do your foot check, you simply need to have a look at your feet and search for any hot spots. Hot spots are essentially areas that have started rubbing against your boots but haven’t yet developed into a blister.
These hot spots tend to happen on your heels, on the ball of your feet, and on the top of your toes, but everyone is different. Doing a foot check at least once a day can help you find these hot spots before they get worse.
6. Clean your feet regularly
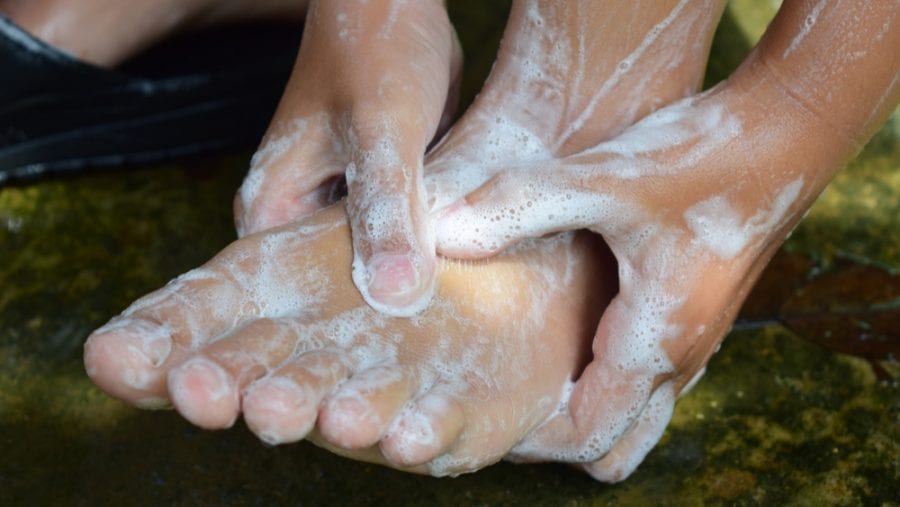
Going on a hiking trip usually involves getting a little muddy and dirty. However, keeping your feet clean while you hike is important if you want to prevent blisters.
Since dirt and debris on your feet increase the amount of friction on your feet as you hike, proper hygiene can make a difference.
Now we’re not necessarily saying that you have to use a camp shower every day on the trail. But, washing your feet with water and soap each day will make your feet much less prone to blisters as you hike.
7. Let your feet air out
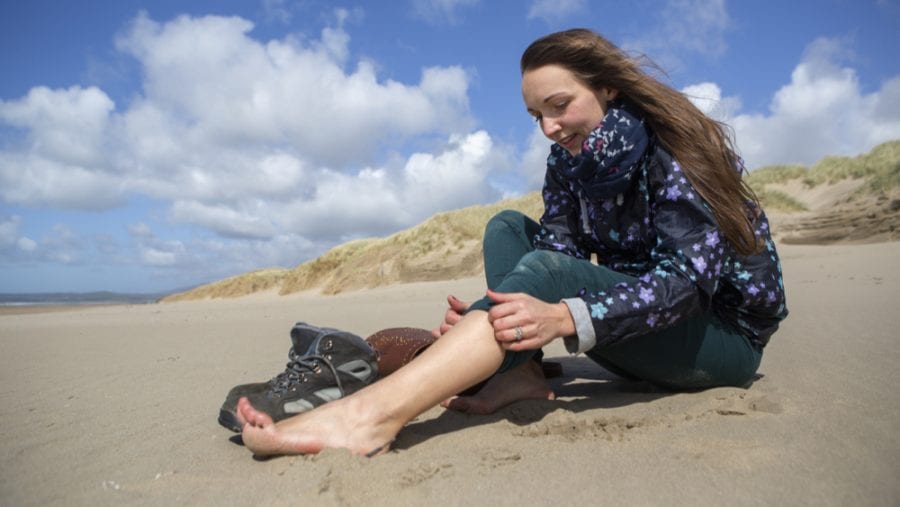
We’ve already mentioned that moisture can increase your risk of developing blisters as you hike. So, in addition to wearing dry socks whenever possible, it’s also worth letting your feet air out every once in a while on your adventures.
Untying your boots during a break on the trail and letting your feet get some sunlight does more than help you get an even tan. Indeed, letting your feet air out, especially after a river crossing or a period of rain, can do wonders for blister prevention.
Plus, airing out your feet regularly can also prevent trench foot, which is a serious and painful condition that can develop if your feet are wet for too long. So, let your feet air out on the trail, folks!
It’s important.
8. Consider wearing two pairs of socks
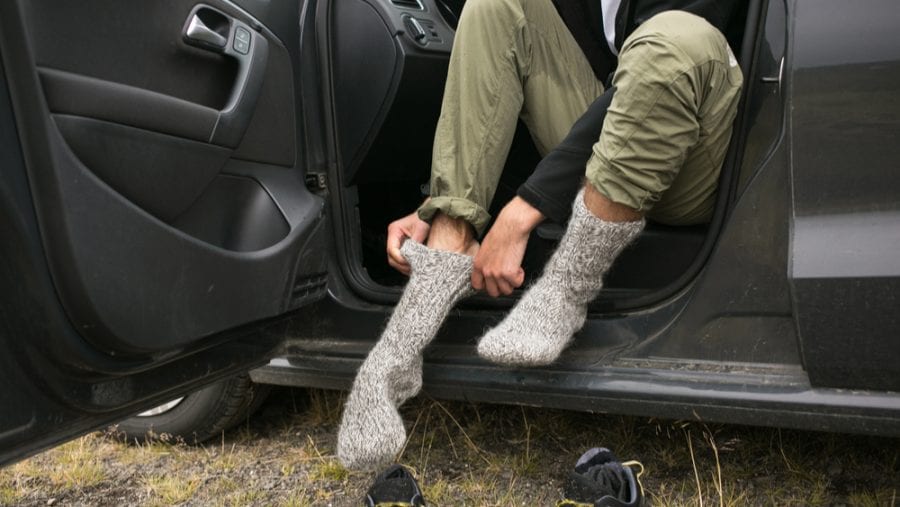
The debate over whether you should wear one or two pairs of socks while hiking is about as old as hiking itself.
While some folks swear that wearing two pairs of socks is essential for stopping blisters, others aren’t convinced. So, the best thing to do is to try out both methods and see which one works best for you.
If you’ve found that wearing one pair of hiking socks is sufficient for blister prevention, great!
Stick to that. Otherwise, consider mixing things up and using liner socks to see if that helps. You’ll never know if it works until you try it.
9. Pack a foot kit on your hikes
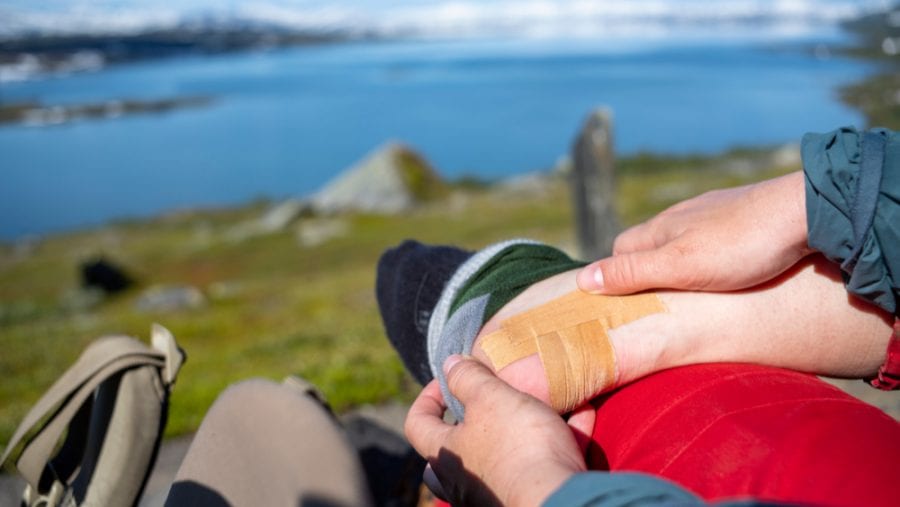
While most of us probably carry a first aid kit on all of our hikes, it’s worth carrying a separate foot care-specific kit, too.
Why, you might ask?
Well, having a pre-made kit that’s designed for taking care of blisters makes it easy for you to deal with foot problems as they happen.
You can easily make a small foot kit for yourself using a Ziploc baggie. Pack it full of foot care essentials like moleskin, paper tape, foam blister pads, nail clippers, and bandaids so that you always have supplies on hand to prevent a hotspot from turning into a fully-fledged blister.
10. Deal with hot spots when they happen
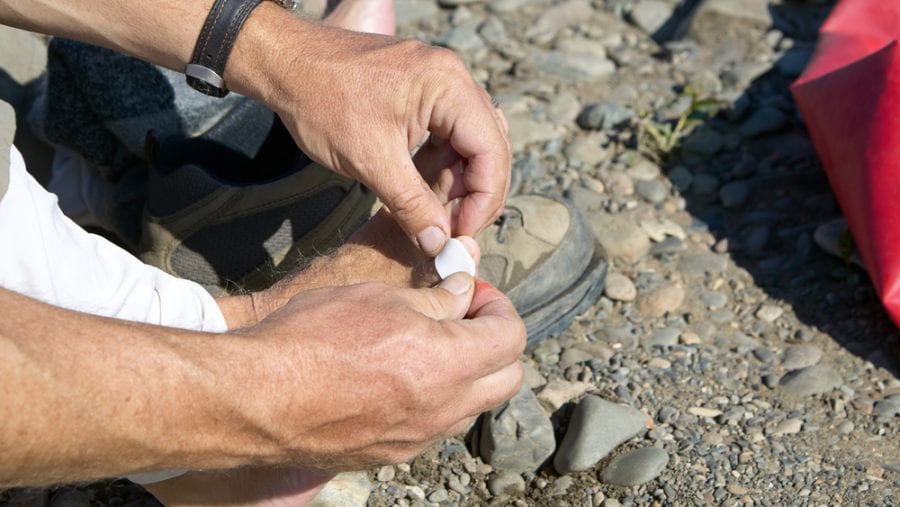
Finally, it’s worth noting that you should always deal with hot spots on your feet when they happen.
Although it might seem easier to finish the last 1-mile stretch to your campsite instead of stopping to deal with a hot spot, it’s always better to be proactive on the trail. Stopping that hot spot from getting worse is essential if you want to avoid blisters.
So, take a minute to sit down, take out your foot kit and put some moleskin over your hot spot. You’ll be happy you did in the long run.
Recommended Reads :
Gaby Pilson
Gaby is a professional mountain guide with a master’s degree in outdoor education. She works primarily in the polar regions as an expedition guide, though she can be found hiking, climbing, skiing, sailing, or paddling in some of the world’s most amazing places when not at work.
